
A friendly guide for your first game
Unity can feel huge when you first open it. Windows everywhere, new terms, and about ten different ways to do anything. The good news is you do not need to learn everything at once. If you can install Unity, move a little cube around, and hit Play without fear, you are already on the right path.
This guide is written for first-time devs, students, and hobbyists who want to make their first small game with Unity.
Why Unity is a solid first engine
Unity is popular for a few simple reasons:
- It runs on most decent laptops and desktops.
- You can build both 2D and 3D games.
- Most tutorials you find online assume zero experience.
You will write code in C#, but you do not need to be a “real programmer” before you start. Unity is a great place to learn programming by doing.
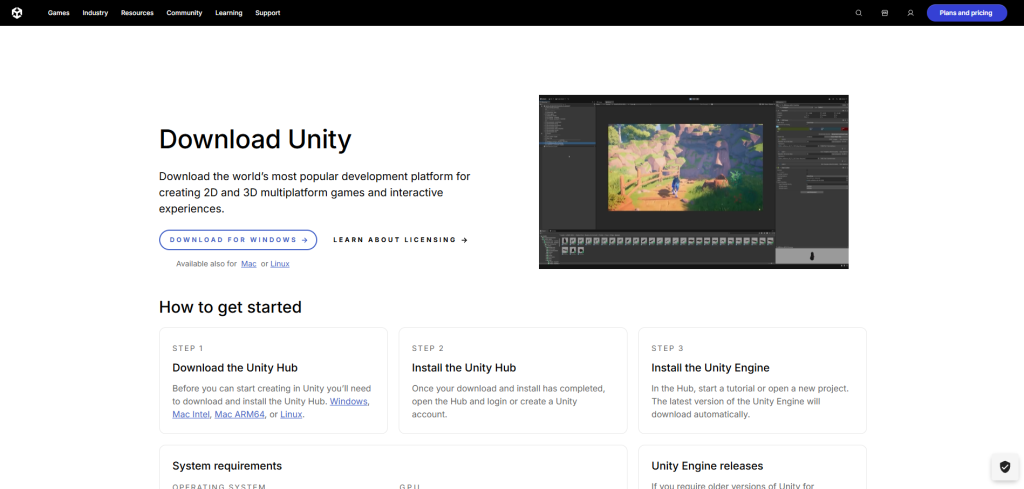
Step 1: Install Unity the right way
Unity is managed through a small app called Unity Hub. The Hub handles versions, projects, and add-ons.
When you install:
- Install Unity Hub.
- Inside the Hub, add a Unity Editor version. Look for a recent “LTS” version. LTS means “long-term support” and is usually the safest choice for beginners.
- When you add the editor, select at least one build target, like Windows or Mac. You can add more later if you want to ship to consoles or mobile.
Once the editor is installed, you are ready to make a project.
Step 2: Create your first project
In Unity Hub:
- Click “New project.”
- Pick a template. For your very first game, a 2D or simple 3D template is enough.
- Name your project and choose a folder where it will live. Avoid syncing it directly with cloud services at first, since that can cause build issues.
When Unity opens, it will generate a starter Scene for you.
Step 3: Learn the core pieces of the editor
Unity looks busy, but most of your day will revolve around a few key areas.
- Scene view
This is where you place and move things in your game world. Think of it as your level editor. - Game view
This is what the player actually sees when the game runs. - Hierarchy
A list of every object in your current Scene. If the Scene is your stage, the Hierarchy is the cast list. - Inspector
This shows the details for whatever you have selected. Position, rotation, scripts, sprites, audio, and more all live here. - Project window
This is your file browser inside Unity. All your assets, scripts, and Scenes appear here.
The most important concept in Unity is this:
Everything in your game world is a GameObject, and it is built out of Components.
A GameObject is just a container. Components give it behavior and data. For example:
- A Transform component tells Unity where the object is.
- A Sprite Renderer component tells Unity what it looks like.
- A Script component tells Unity how it behaves.
Once that clicks, the editor starts to feel less mysterious.
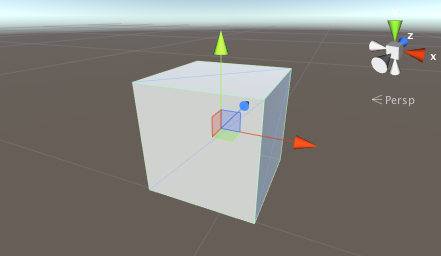
Step 4: Make something move with your first script
Let us give you a tiny win: move a cube around with the keyboard.
- In the Hierarchy, right-click and create a Cube (in a 3D project) or a simple Sprite (in 2D).
- Select the object and rename it to “Player.”
- In the Project window, create a new C# Script called
PlayerController. - Drag the
PlayerControllerscript from the Project window onto the Player object in the Hierarchy. This attaches it as a Component. - Double-click the script to open it in your code editor.
Replace the contents with this:
using UnityEngine;
public class PlayerController : MonoBehaviour
{
public float moveSpeed = 5f;
void Update()
{
    float moveX = Input.GetAxis("Horizontal");
    float moveZ = Input.GetAxis("Vertical");

    Vector3 moveDirection = new Vector3(moveX, 0f, moveZ);
    transform.Translate(moveDirection * moveSpeed * Time.deltaTime, Space.World);
}
}
What this does:
moveSpeedcontrols how fast the object moves. You can tweak this in the Inspector while the game is not running.Input.GetAxis("Horizontal")listens for A/D keys or left/right arrows.Input.GetAxis("Vertical")listens for W/S or up/down arrows.transform.Translateactually moves the object in world space.
Hit Play at the top of the editor, and you should be able to move your Player around.
If it does not work, that is normal. Check:
- Is the script attached to the Player object in the Hierarchy?
- Did you name the class and file
PlayerControllerexactly the same. - Are there any red error messages in the Console window at the bottom?
Debugging is part of the learning process. You’re now doing real game development.
Step 5: Experiment without fear
A healthy Unity habit is to experiment in small steps and keep your wins.
A few ideas:
- Duplicate your Scene before trying something wild. Right-click the Scene in the Project window and hit Duplicate. Now you have a safe copy.
- Play with values in the Inspector. Change
moveSpeed, the scale of the object and camera position to see how each one affects the game. - Use Play mode as a sandbox. When you hit Play, you can adjust values and see instant results. Just remember, changes made while playing do not save after you stop, so keep notes on values you like.
The more you poke around, the less intimidating the editor feels.
Step 6: Make a tiny game, not a giant one
Almost everyone starts with “I want to build an open world RPG” and then gets crushed by the scope. For your first Unity project, keep it small on purpose.
Good first game ideas:
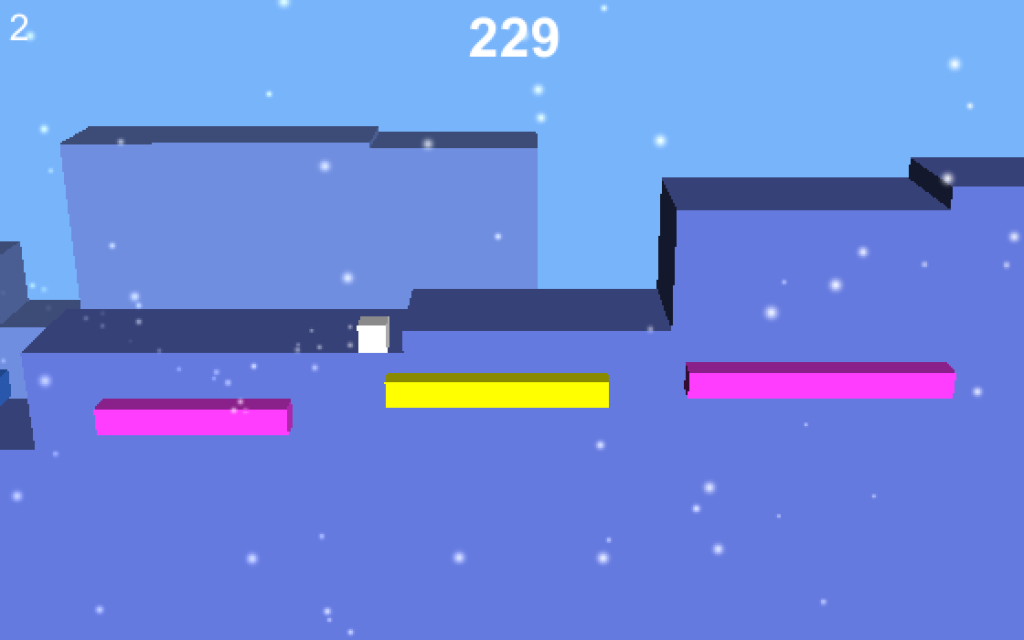
- A simple endless runner where you avoid obstacles.
- A top down game where you move a character and collect coins.
- A basic platformer with one or two levels.
Focus on finishing something that feels complete, even if it is short.
You will learn far more from one tiny finished game than from ten half complete “dream projects.”
Step 7: What to learn next
Once you have moved a cube and made a tiny prototype, here are good next topics to explore:
- Prefabs, so you can reuse objects without rebuilding them every time.
- Collisions and physics, to detect hits and movement.
- UI basics, such as score counters and health bars.
- Scenes and simple menus, so you can restart or go back to a title screen.
And if you are in a community like SDC, bring your early builds to meetups or jams. You will get feedback, encouragement, and probably a few bug reports you never would have found alone.